本小节将照相机封装为一个类,把 fov
以及位置等相机属性与行为统一封装起来。
可移动相机
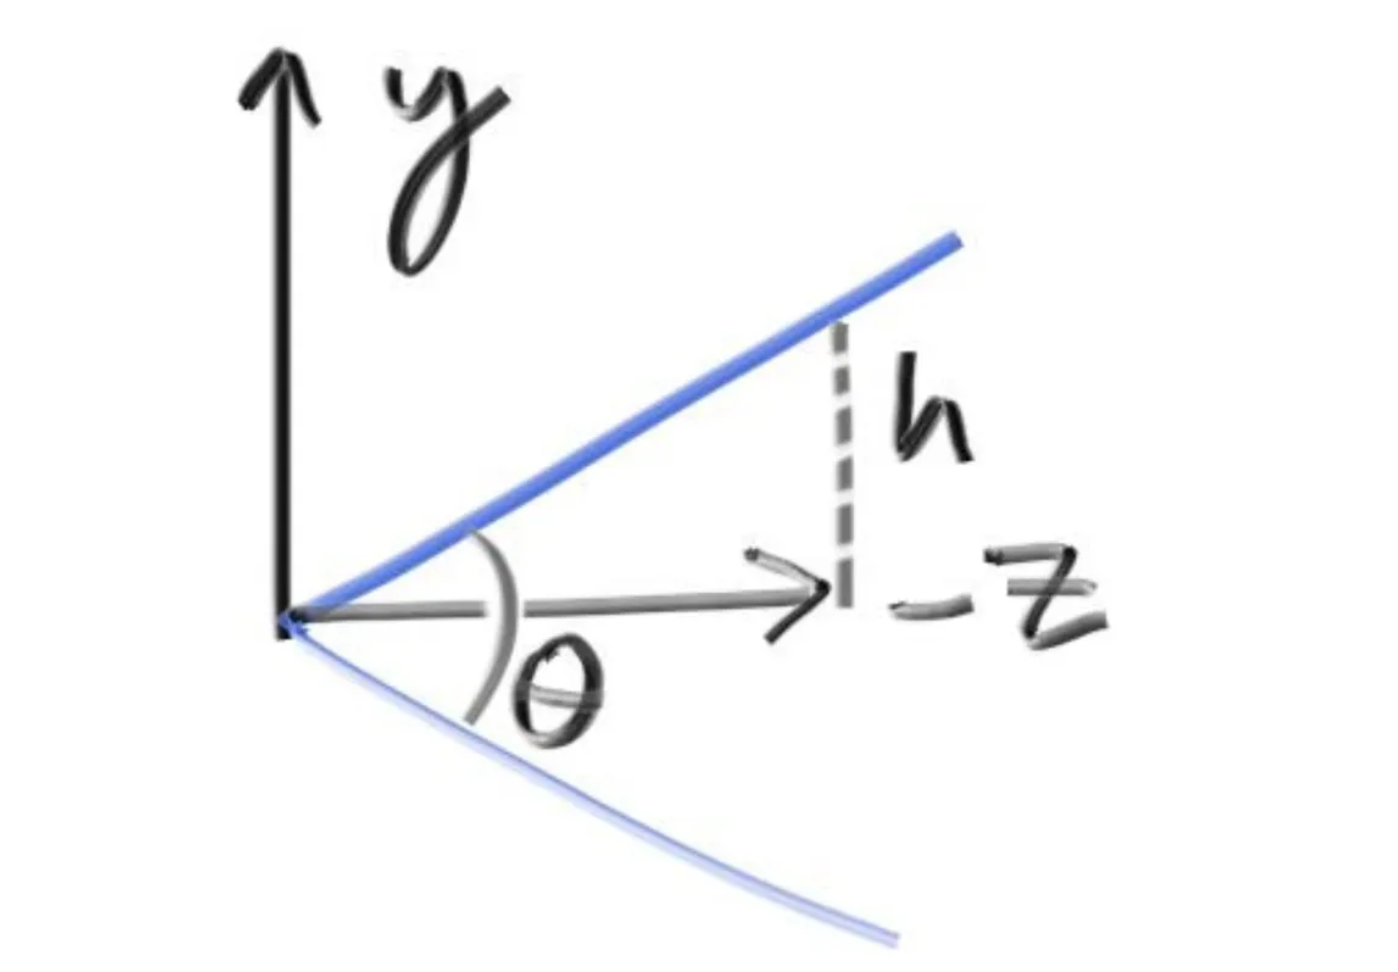
照相机向着 \(z = -1\) 的方向,由此有
\(h = \tan(\theta / 2)\),注意 \(z = -1\)。
照相机从一个地方看向目标。
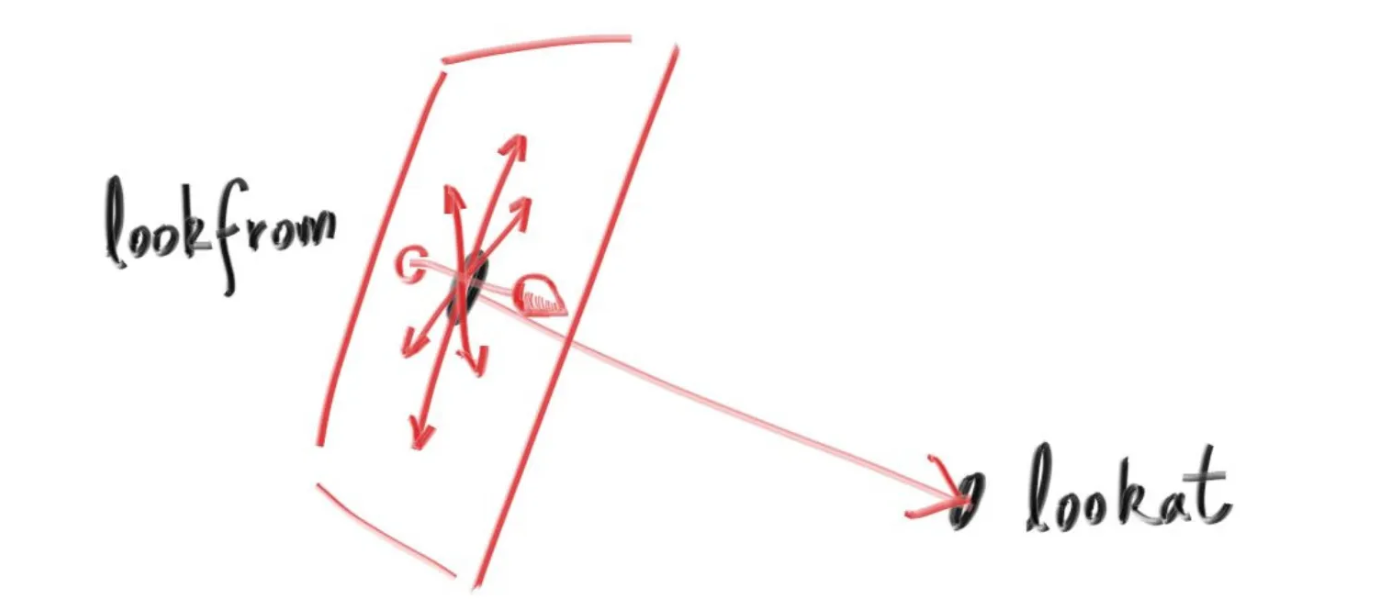
照相机的向上方向。

class Camera {
public:
Point3 origin;
Point3 lowerLeftCorner;
Vec3 horizontal;
Vec3 vertical;
public:
Camera() {
const auto aspectRatio = 16.0 /9.0;
auto viewportHeight = 2.0;
auto viewportWidth = aspectRatio * viewportHeight;
auto focalLength = 1.0;
origin = Point3(0, 0, 0);
horizontal = Vec3(viewportWidth, 0, 0);
vertical = Vec3(0, viewportHeight, 0);
lowerLeftCorner = origin - horizontal/2 - vertical/2 - Vec3(0, 0, focalLength);
}
Camera(Point3 lookfrom, Point3 lookat, Vec3 vup, double vfov, double aspectRatio) {
auto theta = degrees2radians(vfov);
auto h = tan(theta / 2.0);
auto viewportHeight = 2.0 * h;
auto viewportWidth = aspectRatio * viewportHeight;
auto focalLength = 1.0;
auto w = unitVector(lookfrom - lookat);
auto u = unitVector(cross(vup, w));
auto v = cross(w, u);
origin = lookfrom;
horizontal = viewportWidth * u;
vertical = viewportHeight * v;
lowerLeftCorner = origin - horizontal/2 - vertical/2 - w;
}
Ray getRay(double s, double t) const {
return Ray(origin, lowerLeftCorner + s*horizontal + t*vertical - origin);
}
};
|
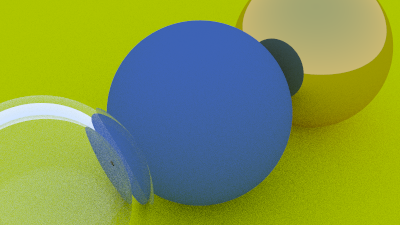
移动一下照相机的位置,可以得到下面的效果
失焦模糊
在摄影领域,这个现象通常被叫做“景深”。
薄透镜近似
真正的相机会有一个复杂的透镜系统,但在这个简单的教程里,我们只使用一个薄透镜来模拟。
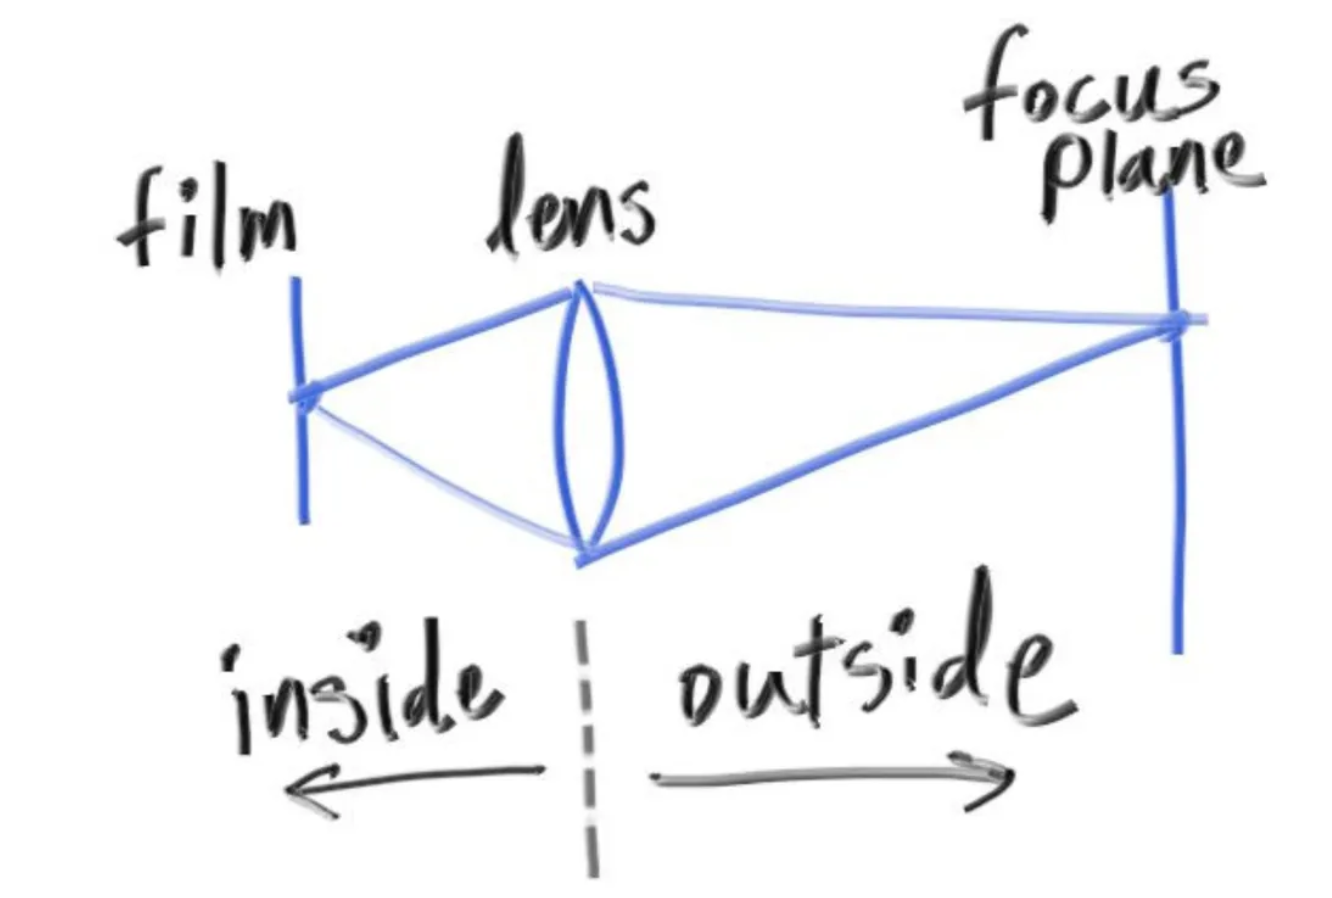
在这个教程里不会模拟相机里的复杂机制,要在相机外渲染一个图片,我们让光线从透镜发出,并且将它们射向成像平面,然后在成像平面里的所有东西都是对焦的。
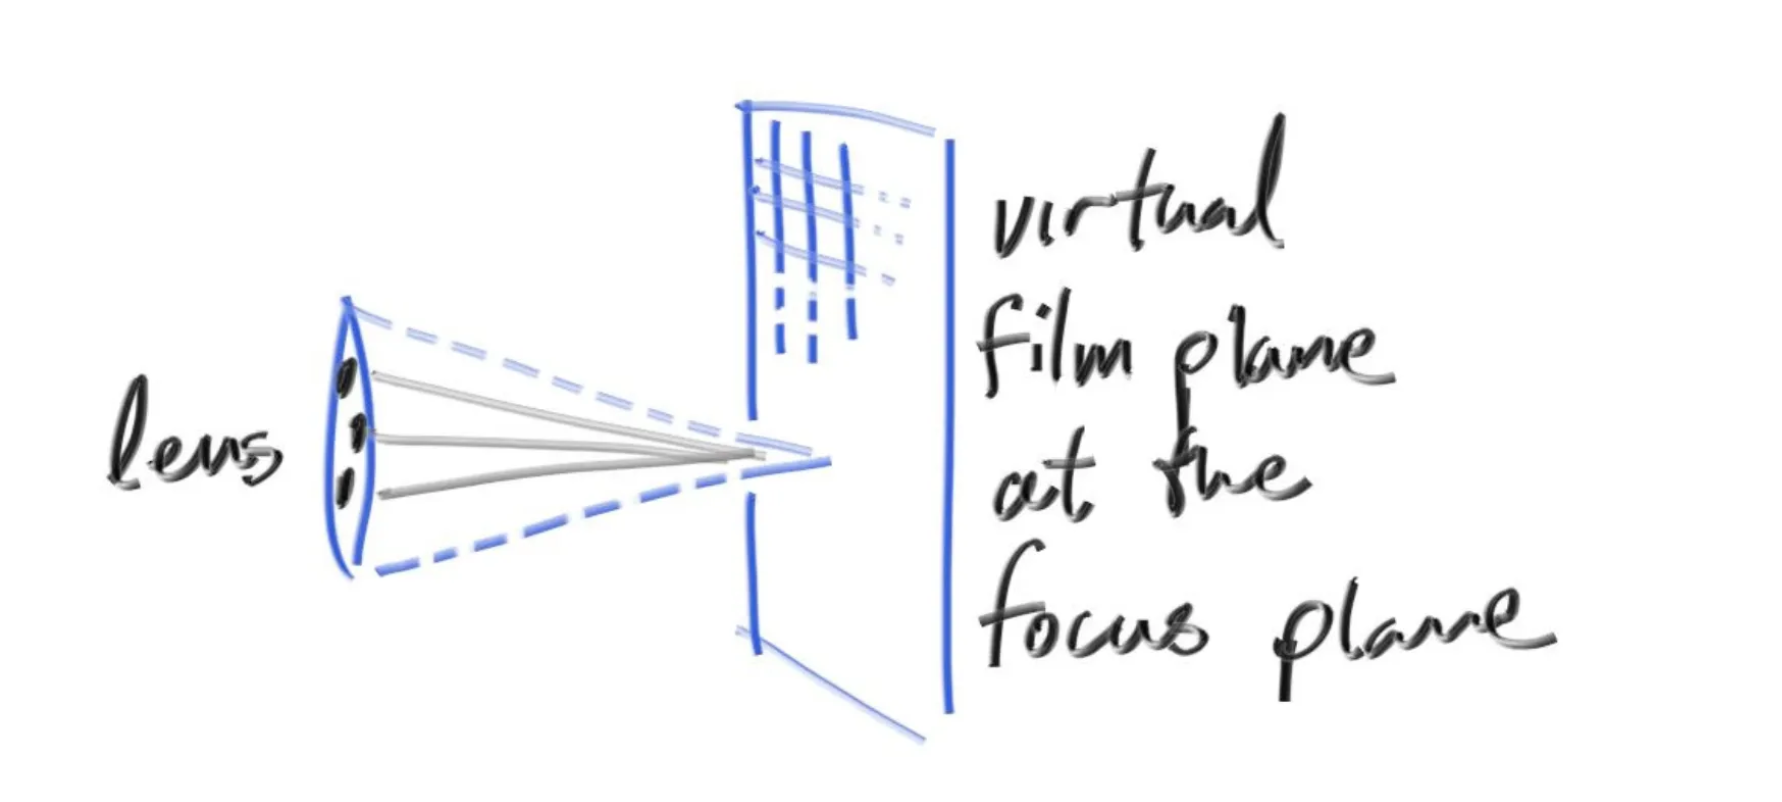
生成光线样本
正常来说,场景里面的光线都是从 lookfrom
发出的,为了实现景深的效果,我们让光线从一个以 lookfrom
为中心的圆盘内发出。这个圆盘的半径越大,那么失焦模糊就越大。
Camera(
Point3 lookfrom,
Point3 lookat,
Vec3 vup,
double vfov,
double aspectRatio,
double aperture,
double focusDist
) {
auto theta = degrees2radians(vfov);
auto h = tan(theta / 2.0);
auto viewportHeight = 2.0 * h;
auto viewportWidth = aspectRatio * viewportHeight;
auto focalLength = 1.0;
w = unitVector(lookfrom - lookat);
u = unitVector(cross(vup, w));
v = cross(w, u);
origin = lookfrom;
horizontal = focusDist * viewportWidth * u;
vertical = focusDist * viewportHeight * v;
lowerLeftCorner = origin - horizontal/2 - vertical/2 - focusDist * w;
lensRadius = aperture / 2;
}
|
在初始化照相机的时候传入光圈大小,焦距圆盘半径等参数。
Point3 lookfrom(3, 3, 2);
  Point3 lookat(0, 0, -1);
  Vec3 vup(0, 1, 0);
  auto distToFocus = (lookfrom - lookat).length();
  auto aperture = 2.0;
  Camera camera(lookfrom, lookat, vup, 20, aspectRatio, aperture, distToFocus);
|
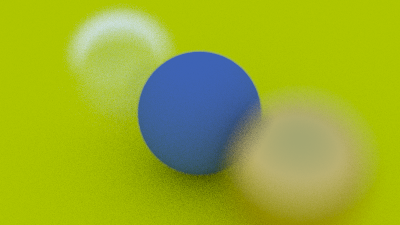
由此可得到下面的效果。
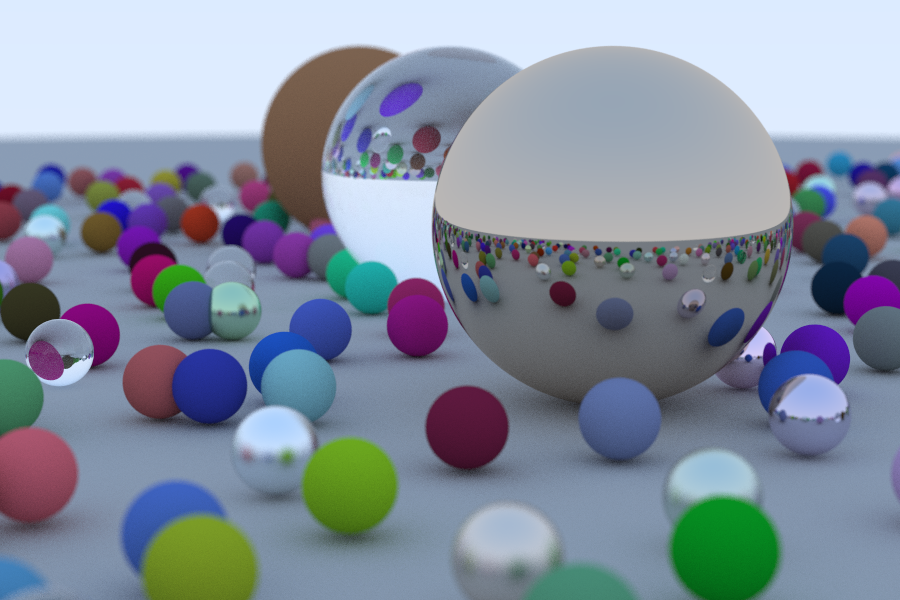
封面场景
如果按照书中的参数将会非常慢,目前使用下面的参数也渲染了一个半小时。
const auto aspectRatio = 3.0 / 2.0;
const int imageWidth = 900;
const int imageHeight = static_cast<int>(imageWidth / aspectRatio);
const int samplesPerPixel = 200;
const int maxDepth = 50;
|
不过得到的图片还是非常不错的。
