球
位于坐标原点的球的方程为 \(x^2 + y^2 + z^2
= R^2\) ,如果给定一个点在球内,则有 \(x^2 + y^2 + z^2 <
R^2\) ,反之则在球外。如果将球的方程写成向量形式,令 \(\textbf{P}\) 为球上一点,\(\textbf{C}\) 为圆心,则有
\[
(\textbf{P} - \textbf{C}) \cdot (\textbf{P} - \textbf{C}) = r^2
\]
满足方程的点 \(\textbf{P}\)
在球上。所以对于光线的点 \(\textbf{P}(t)\) ,如果满足方程,则在球上。代入球方程并展开,有
\[
\begin{align}
& (\textbf{P}(t) - \textbf{C}) \cdot (\textbf{P}(t) - \textbf{C}) =
r^2 \\
& (\textbf{A} + t\textbf{b} - \textbf{C}) \cdot (\textbf{A} +
t\textbf{b} - \textbf{C}) = r^2 \\
& t^2 \textbf{b} \cdot \textbf{b} + 2t \textbf{b} \cdot (\textbf{A}
- \textbf{C}) + (\textbf{A} - \textbf{C})\cdot (\textbf{A} - \textbf{C})
- r^2 = 0
\end{align}
\]
上面是一个简单的一元二次方程,如果无解,则光线与球没有相交,如果有一个解,则光线与球相切,如果有两个解,则光线穿过球。
根据这个判别式是否大于 0 可以简单实现光线与球相交的函数。
bool hitSphere (const Point3& center, double radius, const Ray& r) Vec3 oc = r.origin () - center; auto a = dot (r.direction (), r.direction ()); auto b = 2.0 * dot (oc, r.direction ()); auto c = dot (oc, oc) - radius * radius; auto discriminant = b*b - 4 *a*c; return (discriminant > 0 ); }
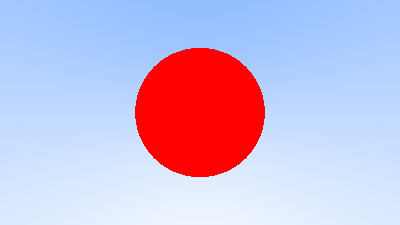
如果相交则返回红色,可以得到下面的渲染结果。
Color rayColor (const Ray& r) { if (hitSphere (Point3 (0 , 0 , -1 ), 0.5 , r)) { return Color (1 , 0 , 0 ); } Vec3 unitDirection = unitVector (r.direction ()); auto t = 0.5 * (unitDirection.y () + 1.0 ); return (1.0 -t) * Color (1.0 , 1.0 , 1.0 ) + t*Color (0.5 , 0.7 , 1.0 ); }
法向量
每个物体有光影的变化,是因为光照射到物体的时候会有不同方向的反射,而法向量是一个垂直于物体表面的向量,可以通过这个法向量与光线的夹角来表现出这种光影。
一般习惯是会让这些面法向量为单位向量。
double hitSphere (const Point3& center, double radius, const Ray& r) Vec3 oc = r.origin () - center; auto a = dot (r.direction (), r.direction ()); auto b = 2.0 * dot (oc, r.direction ()); auto c = dot (oc, oc) - radius * radius; auto discriminant = b*b - 4 *a*c; if (discriminant < 0 ) { return -1.0 ; } else { return (-b - sqrt (discriminant)) / (2.0 *a); } } Color rayColor (const Ray& r) { auto t = hitSphere (Point3 (0 , 0 , -1 ), 0.5 , r); if (t > 0.0 ) { Vec3 N = unitVector (r.at (t) - Vec3 (0 , 0 , -1 )); return 0.5 *Color (N.x () + 1 , N.y () + 1 , N.z () + 1 ); } Vec3 unitDirection = unitVector (r.direction ()); t = 0.5 * (unitDirection.y () + 1.0 ); return (1.0 -t) * Color (1.0 , 1.0 , 1.0 ) + t*Color (0.5 , 0.7 , 1.0 ); }
上面的代码将光线与球的交点直接计算出来,如果判别式大于
0,则用求根公式直接计算出 t,然后用 t
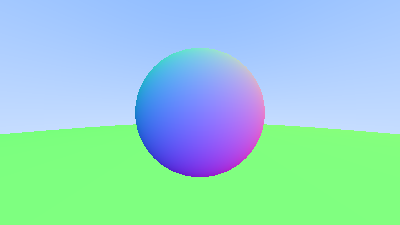
计算交点,用交点与圆心的向量作为法向量,然后先简单用法向量作为颜色(因为目前没有光源)。由此得到下面的结果。
物体
对可击中物体的抽象
世界中的物体其实都可以被光线“击中”,可以对这些可击中物体进行抽象,这样后面光线追踪的目标就是这些可击中物体,对这个抽象类进行派生,得到各种各样不同的物体,比如球体,立方体,甚至复杂模型等。
下面是对简单可击中物体的定义。
#ifndef HITTABLE_H #define HITTABLE_H #include "ray.h" struct HitRecord { point3 p; vec3 normal; double t; }; class Hittable {public : virtual bool hit (const Ray& r, double tMin, double tMax, HitRecord& rec) const 0 ; }; #endif
有了可击中物体这个基类,就可以继承从而得到其他形状。下面是对球体的定义。
#ifndef SPHERE_H #define SPHERE_H #include "hittable.h" class Sphere : public Hittable {public : Point3 center; double radius; public : Sphere () {} Sphere (Point3 c, double r): center (c), radius (r) {}; virtual bool hit (const Ray& r, double tMin, double tMax, HitRecord& rec) const override }; bool Sphere::hit (const Ray& r, double tMin, double tMax, HitRecord& rec) const Vec3 oc = r.origin () - center; auto a = r.direction.lengthSquared (); auto halfB = dot (oc, r.direction ()); auto c = oc.lengthSquared () - radius * radius; auto discriminant = halfB*halfB - a*c; if (discriminant < 0 ) return false ; auto sqrtd = sqrt (discriminant); auto root = (-halfB - sqrtd) / a; if (root < tMin || tMax < root) { root = (-halfB + sqrtd) / a; if (root < tMin || tMax < root) return false ; } rec.t = root; rec.p = r.at (rec.t); rec.normal = (rec.p - center) / radius; return true ; } #endif
面的方向
使用面法向量与光线的点积,可以方便地判断方向。如果点积大于
0,那两个向量的夹角就是锐角,也就是两个向量“同向”。
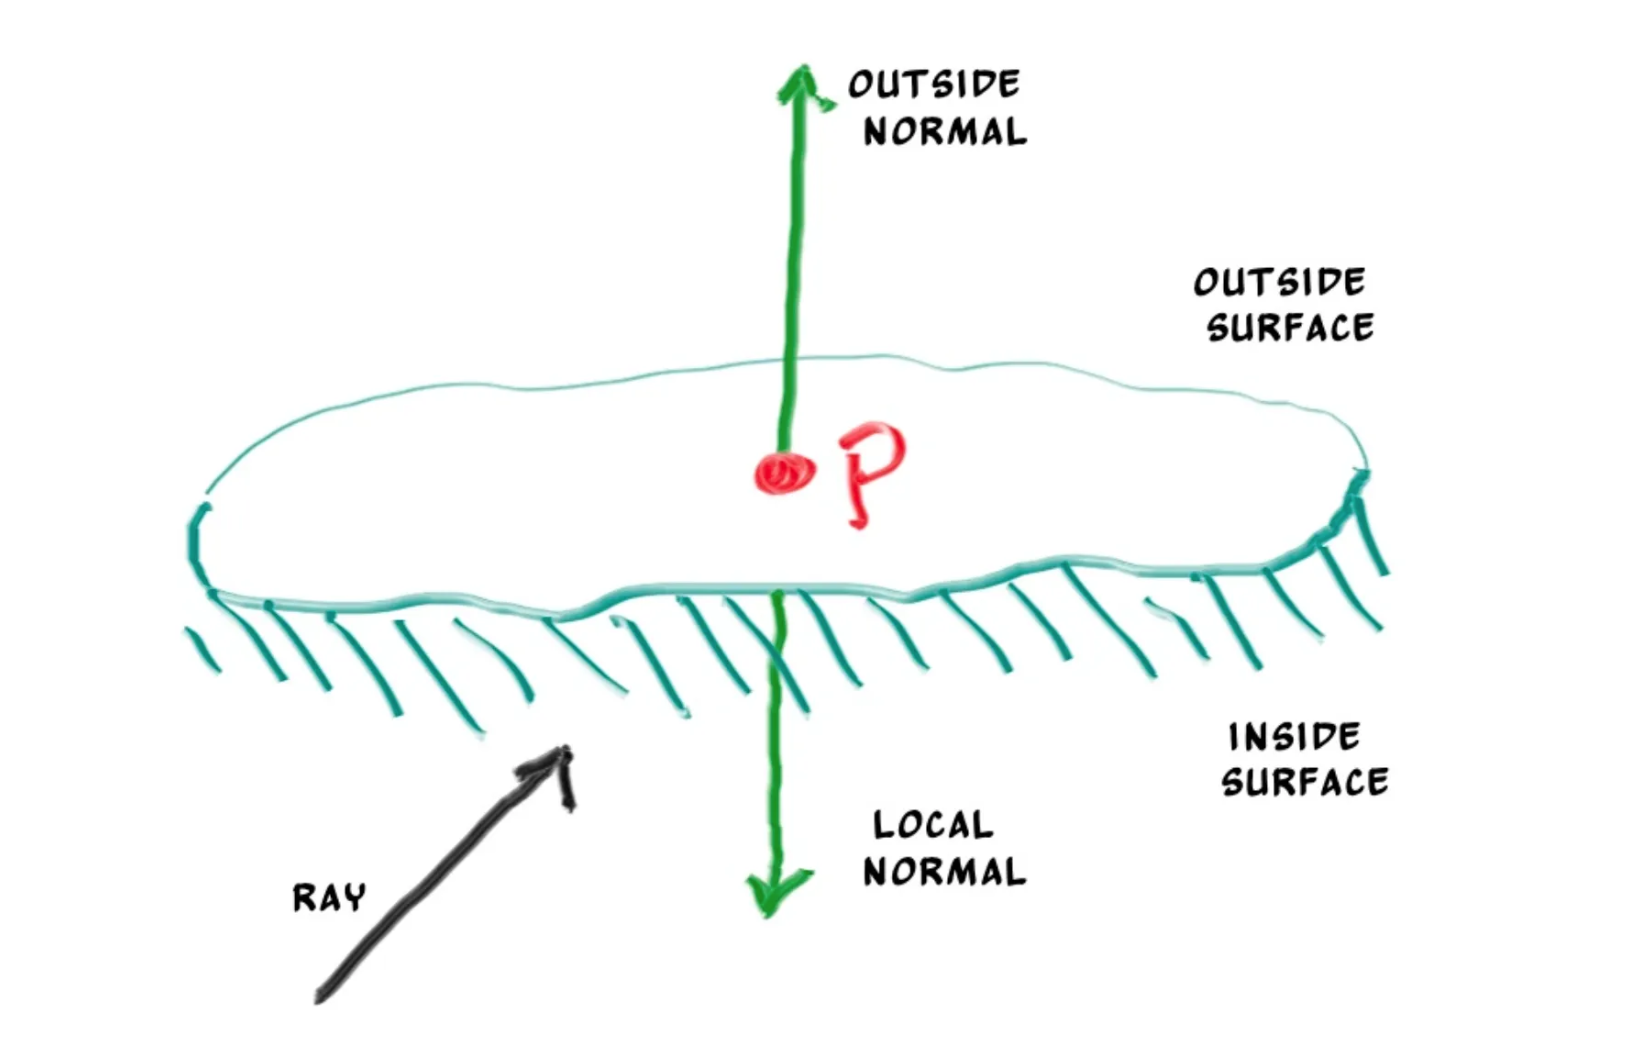
在这个教程里,永远希望法向量朝向光线的入射方向,也就是,如果光源在物体外部,那么物体的面法向量向着外部,如果光源在物体内部,那么物体的法向量向着内部。
bool frontFace;if (dot (rayDirection, outwardNormal) > 0.0 ) { normal = -outwardNormal; frontFace = false ; } else { normal = outwardNormal; frontFace = true ; }
我们把这些记录在 HitRecord 里。
struct HitRecord { point3 p; vec3 normal; double t; bool frontFace; inline void setFaceNormal (const Ray& r, const Vec3& outwardNormal) frontFace = dot (r.direction (), outwardNormal) < 0 ; normal = frontFace ? outwardNormal : -outwardNormal; } };
可击中物体集合
在可击中物体之上再进行一层抽象,将可击中物体的集合看成一整个可击中物体,光线发出之后,对集合里的每个物体进行检查,找出最近的可击中物体。
#ifndef HITTABLE_LIST_H #define HITTABLE_LIST_H #include "hittable.h" #include <memory> #include <vector> using std::shared_ptr;using std::make_shared;class HittableList : public Hittable {public : std::vector<shared_ptr<Hittable>> objects; public : HittableList () {} HittableList (shared_ptr<Hittable> object) { add (object); } void clear () clear (); } void add (shared_ptr<Hittable> object) push_back (object); } virtual bool hit (const Ray& r, double tMin, double tMax, HitRecord& rec) const override } bool HittableList::hit (const Ray& r, double tMin, double tMax, HitRecord& rec) const HitRecord tempRec; bool hitAnything = false ; auto closestSoFar = tMax; for (const auto & object: objects) { if (object->hit (r, tMin, closestSoFar, tempRec)) { hitAnything = true ; closestSoFar = tempRec.t; rec = tempRec; } } return hitAnything; } #endif
在主函数中使用 HittableList 定义一个
world,里面包含两个球体。
#include <iostream> #include "constants.h" #include "color.h" #include "hittable_list.h" #include "sphere.h" Color rayColor (const Ray& r, const Hittable& world) { HitRecord rec; if (world.hit (r, 0 , INFTY, rec)) { return 0.5 * (rec.normal + Color (1 , 1 , 1 )); } Vec3 unitDirection = unitVector (r.direction ()); auto t = 0.5 * (unitDirection.y () + 1.0 ); return (1.0 -t) * Color (1.0 , 1.0 , 1.0 ) + t*Color (0.5 , 0.7 , 1.0 ); } int main () const auto aspectRatio = 16.0 /9.0 ; const int imageWidth = 400 ; const int imageHeight = static_cast <int >(imageWidth / aspectRatio); HittableList world; world.add (make_shared <Sphere>(Point3 (0 , 0 , -1 ), 0.5 )); world.add (make_shared <Sphere>(Point3 (0 , -100.5 , -1 ), 100 )); auto viewportHeight = 2.0 ; auto viewportWidth = aspectRatio * viewportHeight; auto focalLength = 1.0 ; auto origin = Point3 (0 , 0 , 0 ); auto horizontal = Vec3 (viewportWidth, 0 , 0 ); auto vertical = Vec3 (0 , viewportHeight, 0 ); auto lowerLeftCorner = origin - horizontal/2 - vertical/2 - Vec3 (0 , 0 , focalLength); std::cout << "P3\n" << imageWidth << ' ' << imageHeight << "\n255\n" ; for (int j = imageHeight - 1 ; j >= 0 ; --j) { std::cerr << "\rScanlines remaining: " << j << ' ' << std::flush; for (int i = 0 ; i < imageWidth; ++i) { auto u = double (i) / (imageWidth - 1 ); auto v = double (j) / (imageHeight - 1 ); Ray r (origin, lowerLeftCorner + u*horizontal + v*vertical - origin) ; Color pixelColor = rayColor (r, world); writeColor (std::cout, pixelColor); } } std::cerr << "\nDone.\n" ; }
由此得到下面的渲染结果。
抗锯齿
通常用照相机拍照的时候,不会有非常明显的锯齿现象,因为边缘附近的像素会混合一些前景色和背景色,这个问题可以通过对一些像素取均值来解决。
随机函数
下面定义两个基础随机函数,用于返回不同区间的实数。
inline double randomDouble () return rand () / (RAND_MAX + 1.0 ); } inline double randomDouble (double min, double max) return min + (max - min) * randomDouble (); }
采样
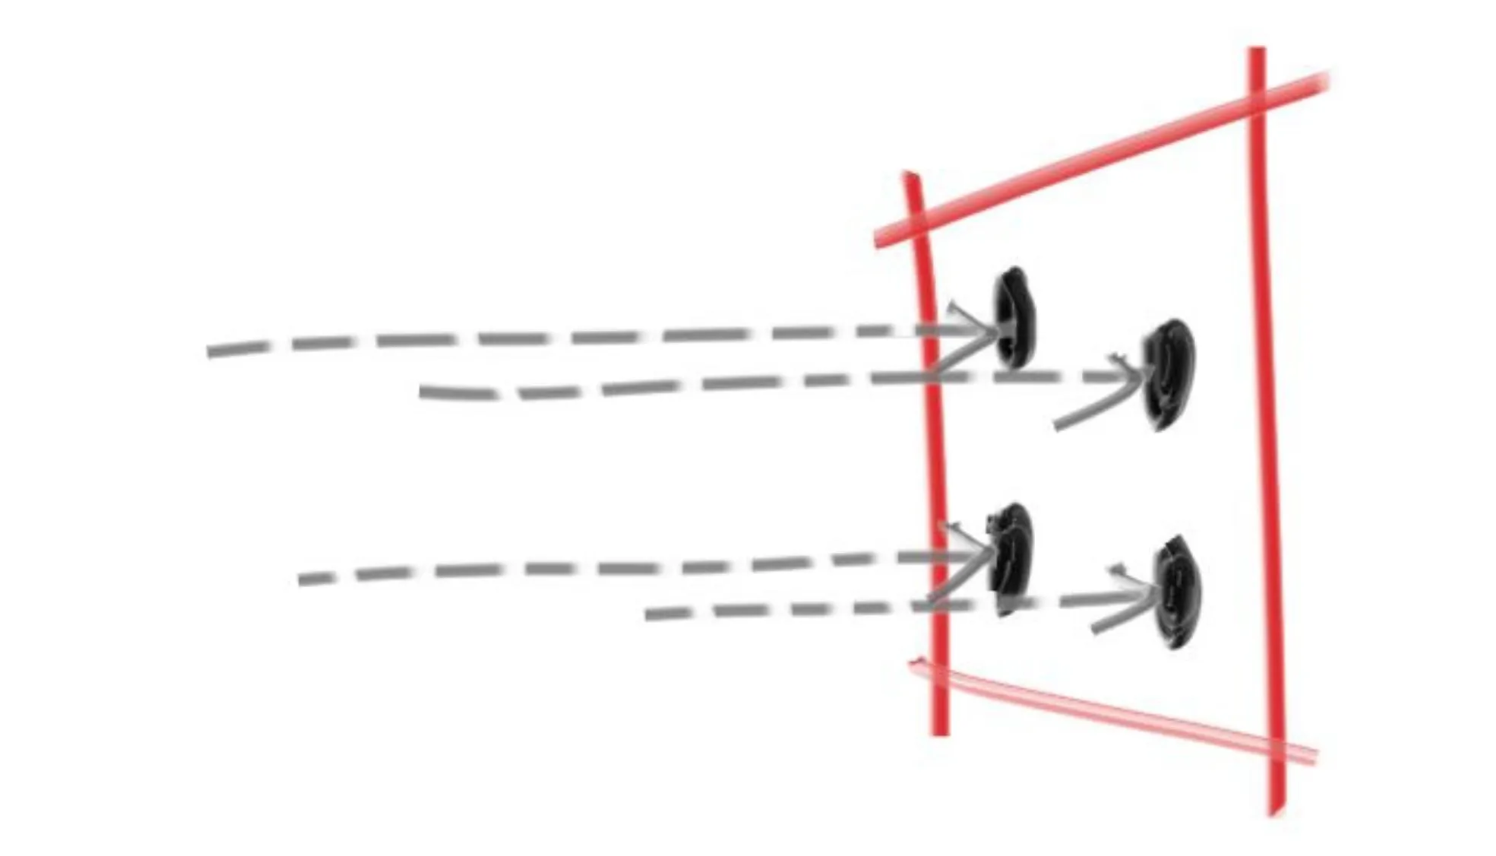
对于某个像素点来说,如果有多个光线击中这个像素点,那么这个像素的颜色就是多个光线颜色的均值。
通过将相机进行抽象,我们可以把这个采样的逻辑放在相机里。
#ifndef CAMERA_H #define CAMERA_H #include "constants.h" class Camera {public : Point3 origin; Point3 lowerLeftCorner; Vec3 horizontal; Vec3 vertical; public : Camera () { const auto aspectRatio = 16.0 /9.0 ; auto viewportHeight = 2.0 ; auto viewportWidth = aspectRatio * viewportHeight; auto focalLength = 1.0 ; origin = Point3 (0 , 0 , 0 ); horizontal = Vec3 (viewportWidth, 0 , 0 ); vertical = Vec3 (0 , viewportHeight, 0 ); lowerLeftCorner = origin - horizontal/2 - vertical/2 - Vec3 (0 , 0 , focalLength); } Ray getRay (double u, double v) const { return Ray (origin, lowerLeftCorner + u*horizontal + v*vertical - origin); } }; #endif
之后增加一个截取函数,用于将一个输入数字截取到指定范围内。
inline double clamp (double x, double min, double max) if (x < min) return min; if (x > max) return max; return x; }
然后我们写一个求采样均值的颜色函数,接受采样数量,然后将颜色求均值。
void writeColor (std::ostream &out, Color pixelColor, int samplesPerPixel) auto r = pixelColor.x (); auto g = pixelColor.y (); auto b = pixelColor.z (); auto scale = 1.0 / samplesPerPixel; r *= scale; g *= scale; b *= scale; out << static_cast <int >(256 * clamp (r, 0.0 , 0.999 )) << ' ' << static_cast <int >(256 * clamp (g, 0.0 , 0.999 )) << ' ' << static_cast <int >(256 * clamp (b, 0.0 , 0.999 )) << '\n' ; }
最后我们在主函数里,之前是一个像素对应一条光线,目前我们改成每个像素对应多条光线,而光线的起点则通过随机值生成,最后再使用改进后的颜色函数来求均值。
int main () const auto aspectRatio = 16.0 /9.0 ; const int imageWidth = 400 ; const int imageHeight = static_cast <int >(imageWidth / aspectRatio); const int samplesPerPixel = 100 ; HittableList world; world.add (make_shared <Sphere>(Point3 (0 , 0 , -1 ), 0.5 )); world.add (make_shared <Sphere>(Point3 (0 , -100.5 , -1 ), 100 )); Camera camera; std::cout << "P3\n" << imageWidth << ' ' << imageHeight << "\n255\n" ; for (int j = imageHeight - 1 ; j >= 0 ; --j) { std::cerr << "\r6 - Scanlines remaining: " << j << ' ' << std::flush; for (int i = 0 ; i < imageWidth; ++i) { Color pixelColor (0 , 0 , 0 ) ; for (int s = 0 ; s < samplesPerPixel; ++s) { auto u = (i + randomDouble ()) / (imageWidth - 1 ); auto v = (j + randomDouble ()) / (imageHeight - 1 ); Ray r = camera.getRay (u, v); pixelColor += rayColor (r, world); } writeColor (std::cout, pixelColor, samplesPerPixel); } } std::cerr << "\nDone.\n" ; }
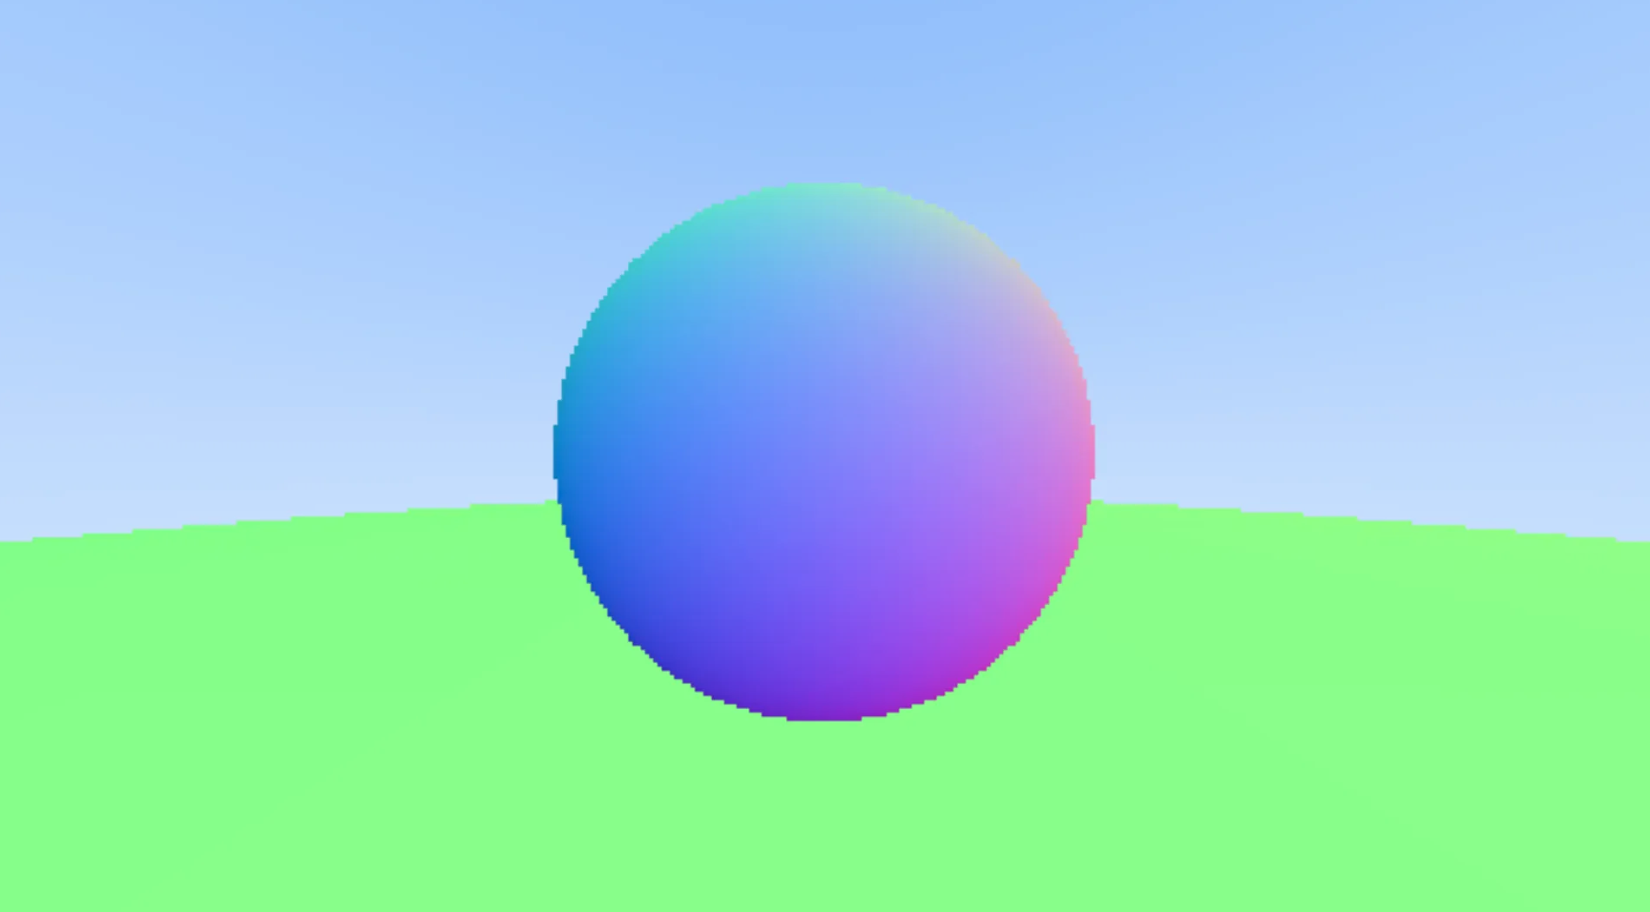
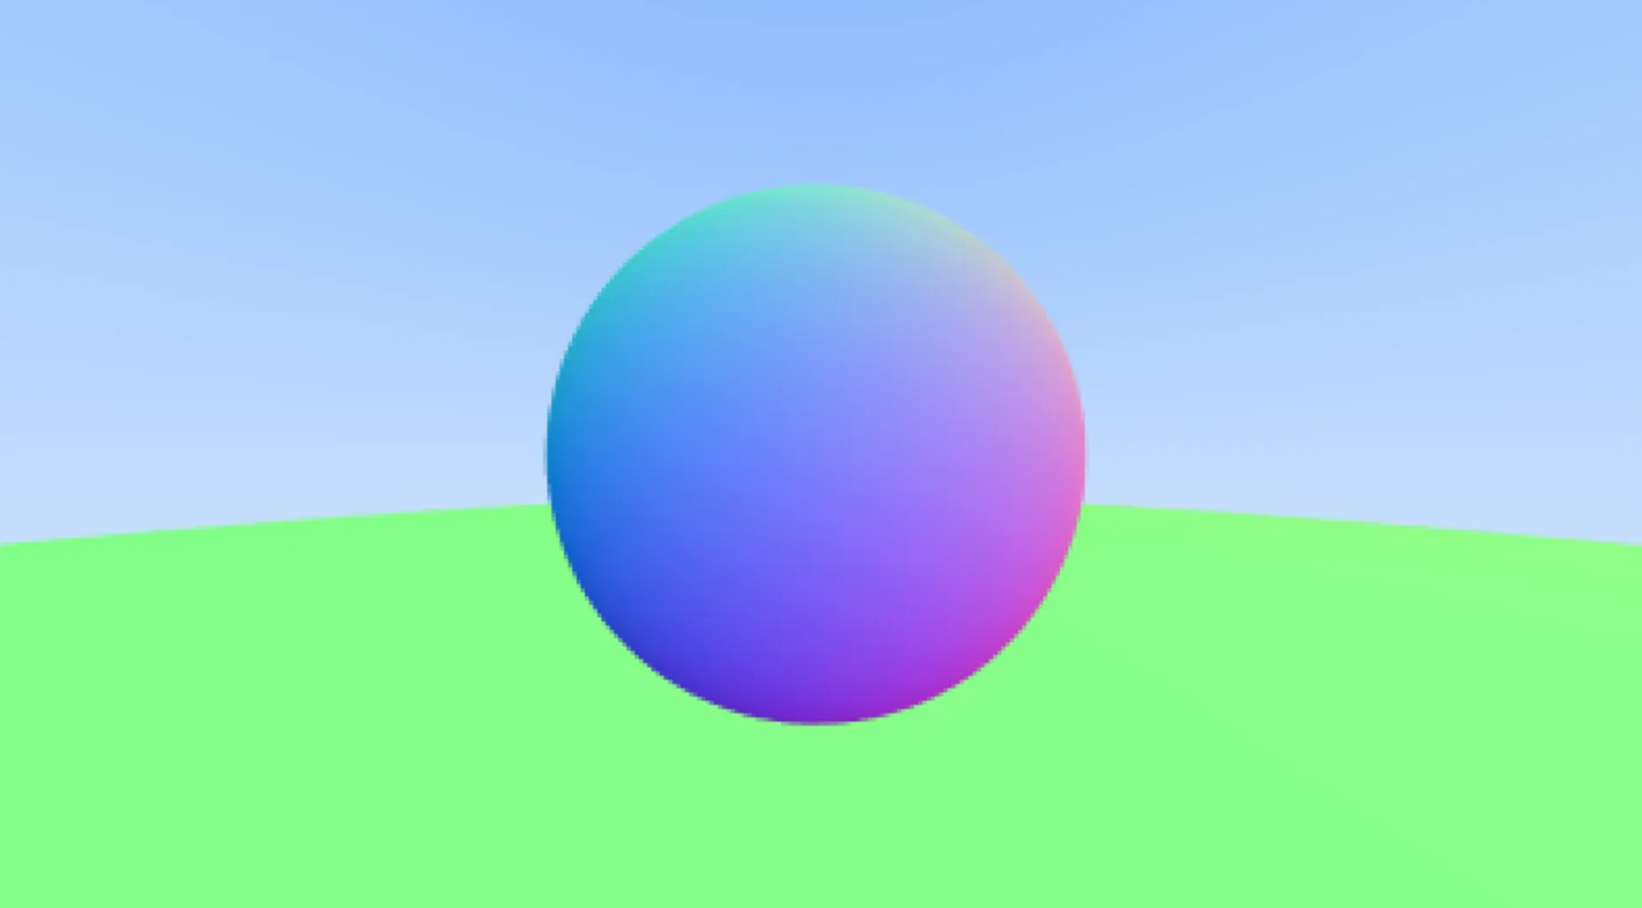
下面是抗锯齿前后的对比。
抗锯齿前
抗锯齿后
